![]()
|
Contents:
Cookery links:
|
Cooking skill level 1: Quite Frankly Rubbish i. Glass of water
Instructions As a complete amateur in the kitchen, it is best to start at the bottom and work your way up. So we're going to start you off with an easy one, although it is not without its pitfalls, as we shall see.
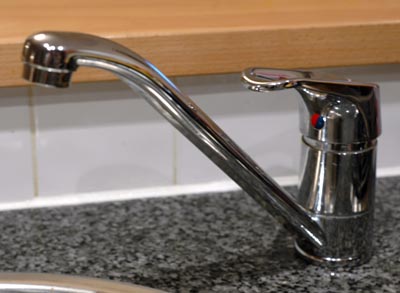
Step 1 - fill jug with water Take the jug and place vertically underneath a tap (preferably working). Turn the tap on. Now this may vary between each make and design of tap and so there is no definitive way of doing this. Hopefully you will have used the tap for some other purpose. If so, try to replicate this previously followed technique. If not, it's probably best that you call a plumber. Fill the jug until about three-quarters full. Also, if this is your first time in the kitchen, do not attempt this without the presence of an expert.
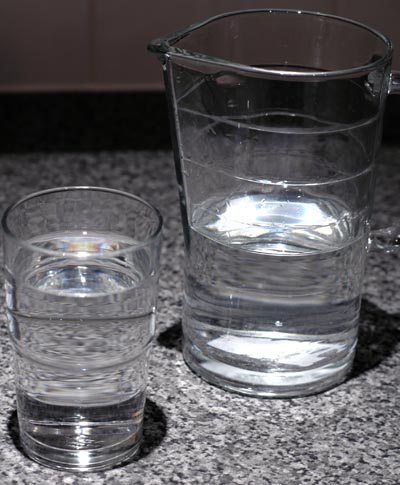
The pictures above show the utensils required (fig 1 - glass and jug, both empty, fig 2 - tap, not on) and the act of the filling of the jug with the water (fig 3).
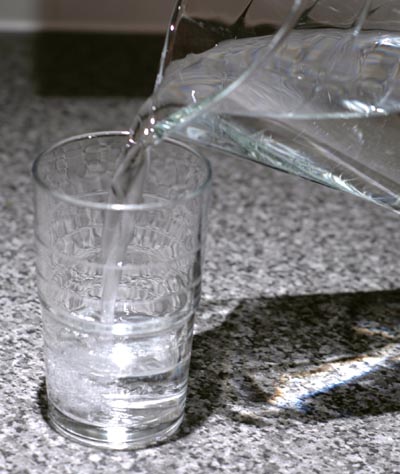
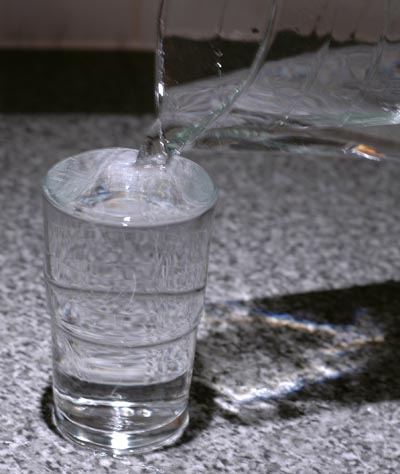
Step 2 - fill glass with water from jug Okay, so you have a three-quarters full jug of water and an empty glass. Now what do you do? It's actually disturbingly simple. Take the jug (containing water) in your stronger hand and, with the empty glass stationary on the work surface (preferably a flat work surface), pour the water slowly and steadily into the empty glass. It is important, at this stage of your cooking "career" not to pour the water too fast. Keep a very close eye on the level of water in the glass and be sure to stop pouring once the level rises to near the top. Stop short of the top. Do not go over the top. If you do, spillage will result.
Fig 4 above shows the three-quarters full jug with empty glass, with fig 5 showing the pouring of the water from jug to glass, and fig 6 shows the final product - a glass of water ready for consumption!
Finally, fig 7 shows what happens if you fail to stop pouring in time. If you have little confidence in your ability to stop in time, keep an absorbent cloth handy.
The more eagle-eyed amongst you may have spotted that the pouring can be done straight from tap to glass. However, this is not recommended unless you have significant kitchen experience, especially in the area of tap pourage. In addition, the jug allows the possibility of sharing the water with a friend, at a table perhaps.
If you have successfully completed this task, tick off task (i) of cooking skill 1. Congratulations! |
Utensils required Tap (preferably working) Jug Serving glass
Ingredients Water (some of)
Serves 1-2
Preparation time About a minute
Cooking time None
|